


How to Wash Custom Printed Tees: 7 Steps
Table of Contents
- Why Custom Printed Tees Need Special Care
- Step 1: Wait Before Your First Wash
- Step 2: Turn Your Printed Tee Inside Out
- Step 3: Wash in Cold Water with a Gentle Cycle
- Custom Printed T-Shirt Care Instructions: Detergent and Temperature
- How to Dry Printed T-Shirts Without Damage
- How to Stop Shirt Designs from Cracking: Prevention and Repair
- How to Iron a Printed T-Shirt Safely
- Frequently Asked Questions
Last Updated: October 10, 2026
Why Custom Printed Tees Need Special Care
Custom printed tees aren't like regular cotton shirts. The design bonds to the fabric through heat, adhesive, or ink, and that bond breaks down if you wash them wrong. Most cracking, fading, and peeling happens because the care approach was too harsh.

High water temperatures, vigorous agitation, harsh chemicals, fabric softener, and dryer heat all damage the print. The good news: learning how to wash custom printed tees correctly is straightforward and protects your investment.
Step 1: Wait Before Your First Wash
New custom printed tees need time to cure. Washing too soon weakens the bond before it's complete.

Wait 24 to 48 hours before the first wash. This curing time lets the adhesive harden completely and resist cracking and peeling.
Check the care instructions that came with your tee. When in doubt, wait longer rather than rushing the first wash.
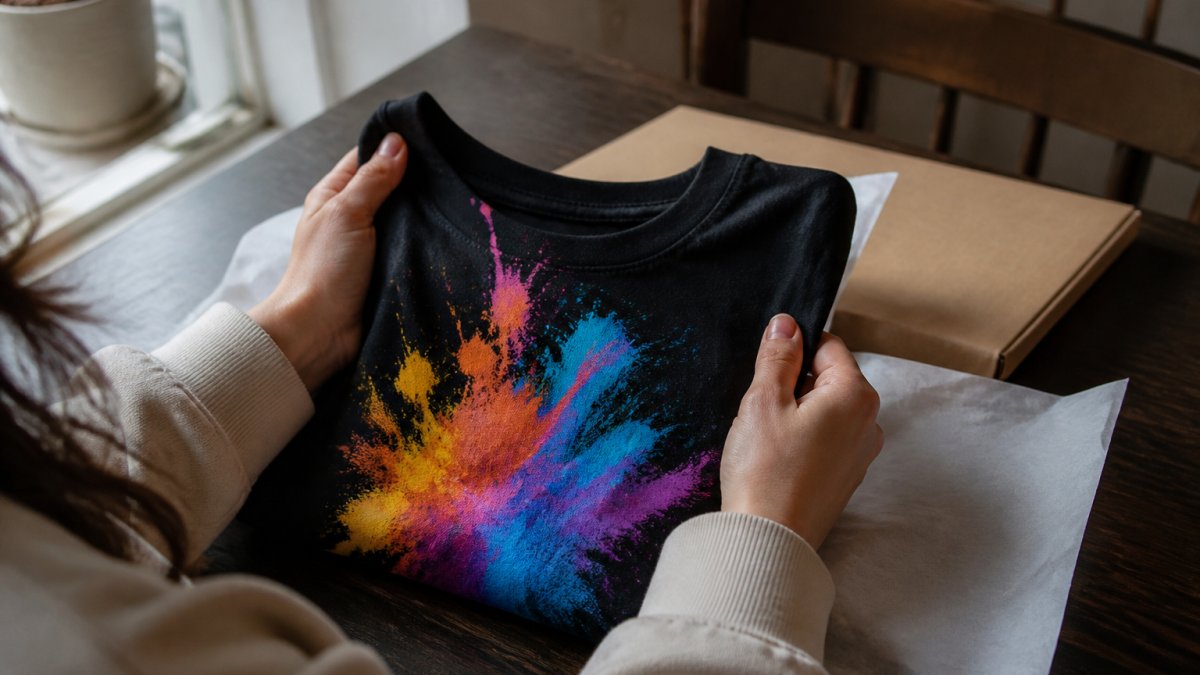
Step 2: Turn Your Printed Tee Inside Out
Turning your custom printed tee inside out shields the design from friction, agitation, and harsh detergent. The blank back absorbs the washing action instead.

This step dramatically reduces cracking, fading, and peeling throughout the entire wash cycle.
Make this a habit every single time you wash. It takes three seconds and makes a real difference.
Step 3: Wash in Cold Water with a Gentle Cycle
Cold water is non-negotiable. Hot water softens the print adhesive and causes lifting or cracking. Cold water keeps the adhesive stable and protects colour.
Use a gentle or delicate wash cycle, which uses less agitation and shorter wash times. A "hand wash" setting is ideal.
Set water temperature to cold, choose a gentle or delicate cycle, and avoid heavy-duty or normal cycles. Wash separately for the first few washes, then with like colours only. Never wash with whites or light colours.
Custom Printed T-Shirt Care Instructions: Detergent and Temperature
Detergent and water temperature matter, but their impact depends on the print method used.
Understanding your print method
Before you wash, identify which print method was used. Check the care tag or ask the supplier. This determines which precautions matter most:
Heat-transfer vinyl (HTV) is a plastic sheet pressed onto the fabric with heat. It's durable but peels in hot water or high heat. Cold water and low-heat drying are critical; fabric softener weakens the adhesive.
Detergent choice by print method
Always use: Mild, gentle detergent (half the normal amount).
Never use: Bleach, oxygen bleach, enzyme-based detergents, fabric softener, or colour-catcher sheets.
Temperature settings: Use cold water only (below 20°C). For stubborn stains, soak in cold water with mild detergent for 15-30 minutes. Rub gently; never scrub hard or use a brush.
Wash cycle selection
Choose a gentle, delicate, or short cycle. These cycles use less agitation and shorter wash times, reducing stress on the print. If your machine has a "hand wash" setting, that's ideal for new or delicate prints. Avoid heavy-duty or normal cycles, which use vigorous agitation that can crack or peel prints.
How to Dry Printed T-Shirts Without Damage
High heat in the dryer cracks, peels, or fades prints. Air-drying is the safest option and extends the life of your custom tee.
Best drying method: air-dry Hang on a clothesline or drying rack, away from direct sunlight, with good air circulation. If you must use a dryer, use the lowest heat or "air dry" setting only.
Remove your tee while slightly damp to prevent wrinkles and reduce ironing. Lay flat or hang immediately.
Personalised Ladies Tshirt - Black →
How to Stop Shirt Designs from Cracking: Prevention and Repair
Cracking is the most common complaint and most cases are preventable. Cracks form from brittle adhesive, excessive flexing, or exposure to heat and harsh chemicals. How you treat stains determines whether the print survives.
Prevention: Wait 24-48 hours before the first wash (up to 7 days for heat-transfer vinyl). Wash inside out, use cold water and gentle cycles, skip fabric softener, air-dry, and avoid high heat.
Print-safe stain removal
Treating stains quickly prevents them from setting, but the method matters. Aggressive scrubbing, hot water, and bleach all risk damaging the print. Instead, use gentle spot treatment:
For fresh stains (treated within hours):
- Blot the stain with a clean, damp cloth to remove excess liquid. Do not rub.
- Mix a small amount of mild detergent with cold water to form a weak solution.
- Apply the solution to the stained area using a soft cloth or sponge.
- Gently dab the stain, working from the outside edge toward the centre to avoid spreading it.
- Rinse with a clean, damp cloth and cold water.
- Air-dry the spot before washing the entire garment.
For set-in stains:
- Soak the affected area in cold water with mild detergent for 15 to 30 minutes. Do not use hot water, which can set the stain permanently.
- Gently rub the fabric between your fingers to loosen the stain. Avoid scrubbing or using a brush.
- Rinse thoroughly with cold water.
- If the stain persists, repeat the soak and gentle rubbing. Do not escalate to harsher methods.
- Wash the garment normally (inside out, cold water, gentle cycle) only after the stain has lifted.
Stains to avoid treating with common methods:
- Grease or oil: Do not use hot water or dish soap, which can set the stain. Instead, sprinkle a small amount of talcum powder or cornflour on the stain to absorb the oil, let it sit for 10 minutes, then brush it off gently. Soak in cold water with mild detergent.
- Protein-based stains (blood, egg, dairy): Never use hot water. Soak in cold water with mild detergent.
- Ink or dye transfer: Rinse immediately with cold water. Soak in cold water with mild detergent. Do not use bleach or colour-catcher sheets, which can interact with the print.
- Wine, juice, or food: Blot immediately, then soak in cold water with mild detergent. Avoid oxygen bleach or hydrogen peroxide, which can fade prints.
What not to do:
- Never scrub stains with a brush or rough cloth
- Never use hot water to treat stains
- Never apply bleach, oxygen bleach, or enzyme-based stain removers directly to a stain on a printed tee
- Never use a pre-wash spray designed for regular fabrics; these are often too harsh
- Never rub the stain vigorously; this can push it deeper into the fabric and damage the print
Repair: when prevention wasn't enough
If your custom tee does develop small cracks, repair options depend on the print method:
Heat-transfer vinyl: Small cracks can sometimes be reactivated. Use a heat press or warm iron (on low heat) to gently press the cracked area from the inside of the shirt for 10 to 15 seconds. Test on a hidden area first. This works only if the crack is small and the adhesive hasn't fully degraded.
Storage: Fold rather than hang. Store in a cool, dry place (15-25°C), away from direct sunlight and damp environments. Avoid plastic bags, which trap moisture.
When to seek replacement or repair:
If cracking is severe or occurs within a reasonable timeframe despite proper care, contact the business where you ordered the tee. Many makers stand behind their work and can discuss replacement or repair options if the print fails prematurely due to a manufacturing defect.
How to Iron a Printed T-Shirt Safely
Iron custom printed tees from the inside only to avoid damaging the design.
How to iron safely:
- Turn the shirt inside out
- Set the iron to low heat (synthetic or delicate setting)
- Use a thin cloth or pressing cloth between the iron and the fabric for extra protection
- Press gently, don't apply heavy pressure
- Iron the plain side only, never directly over the design
- Allow the shirt to cool before wearing
If wrinkles are minimal, skip the iron entirely. Hang the shirt to air-dry straight, and most wrinkles will fade as it dries. This is the safest approach for custom printed tees.
For stubborn wrinkles on the back or sleeves, iron those areas first. Save the front (where the design usually is) for last, and never iron the design area directly.
When you wash custom printed tees the right way, they keep looking great for years. The steps are simple: wait before the first wash, turn inside out, use cold water and gentle cycles, skip harsh chemicals, and air-dry when you can. These habits protect your investment and ensure your custom tee stays vibrant and intact.
At Simpli Must Have, we handcraft every custom tee with high-quality materials and durable prints because we want them to last. When you follow these care instructions, your tee will stay soft, colourful, and crack-free. Our organic cotton custom tees are designed to withstand proper washing and wear for years to come. Get started with a custom tee that's built to last, and care for it right from the first day.
Frequently Asked Questions
Can I wash custom printed tees in the washing machine?
Yes, you can wash custom printed tees in the washing machine if you follow the right steps. Turn the shirt inside out, use cold water, select a gentle or delicate cycle, and wash with mild detergent. Machine washing is safe when you protect the print from friction and heat. Avoid hot water, heavy-duty cycles, and washing with rough fabrics or zips that might damage the design.
How should I wash a custom printed tee for the first time?
Wait at least 24-48 hours after receiving your custom printed tee before washing it for the first time. This allows the print adhesive to cure fully. When you do wash it, turn it inside out, use cold water, choose a gentle cycle, and wash separately or with similar colours. Use mild detergent and avoid bleach, fabric softener, and high heat. This first wash sets the tone for the print's durability.
What water temperature is best for washing printed tees?
Cold water is best for washing custom printed tees. Cold water prevents colour fading, reduces shrinkage, and protects the print adhesive from breaking down. Hot or warm water can weaken the bond between the print and the fabric, leading to cracking and peeling over time. Always use cold water, even if the garment has visible stains, you can spot-treat those separately.
Can I put custom printed tees in the tumble dryer?
Avoid the tumble dryer for custom printed tees. High heat can damage the print, causing it to crack, peel, or fade. Instead, air-dry your printed tee by laying it flat or hanging it in a shaded area away from direct sunlight. If you must use a dryer, use the lowest heat setting or air-dry mode. Air-drying takes longer but significantly extends the life of your design.